"Edit" Room Type Images
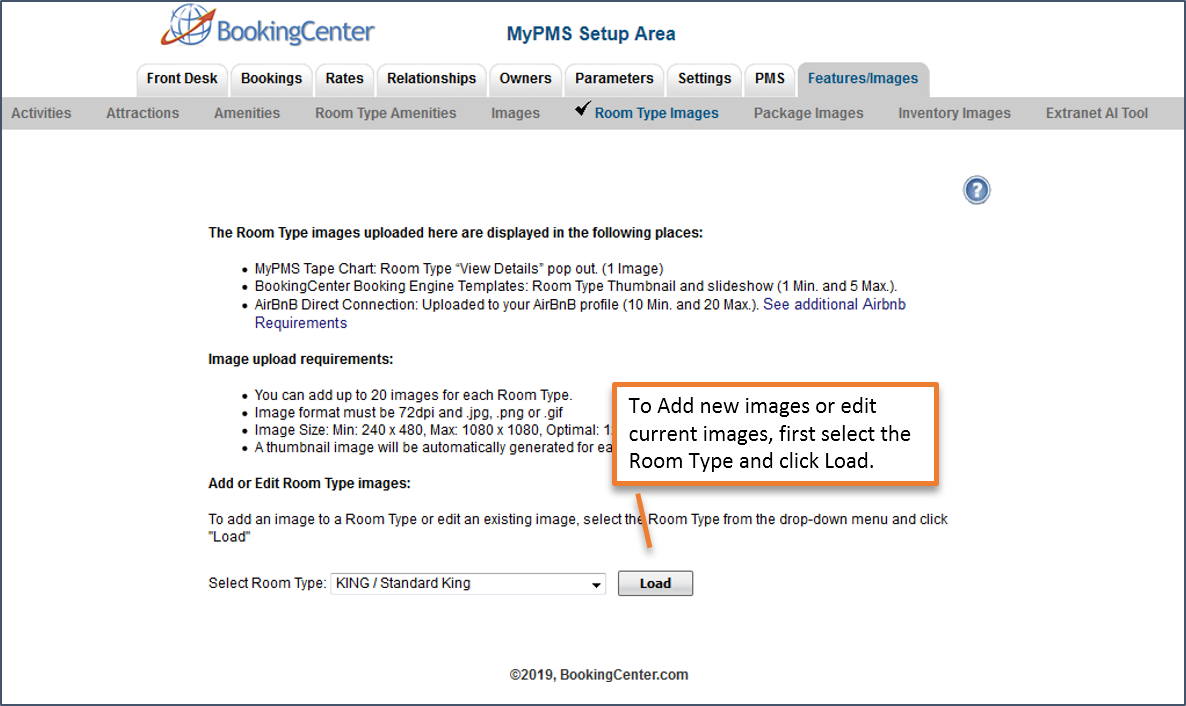
Insert any image you choose as the Room Type Image Thumbnail displayed for the Room Type..This can be a logo, graphic, image, etc.To change your Room Type Thumbnail image, go to SETUP | FEATURES AND IMAGES | ROOM TYPE IMAGES. Here you will see a list of all of your Room Types, Each Room Type has two images. The first image will display in the "View Details" Window. See Booking Engine | View Details. The second image, "Thumb Image " is the Room Type Thumbnail image and will display next to the Room Type in the Booking Engine. For more detalls, see Room Type Images To upload an image:
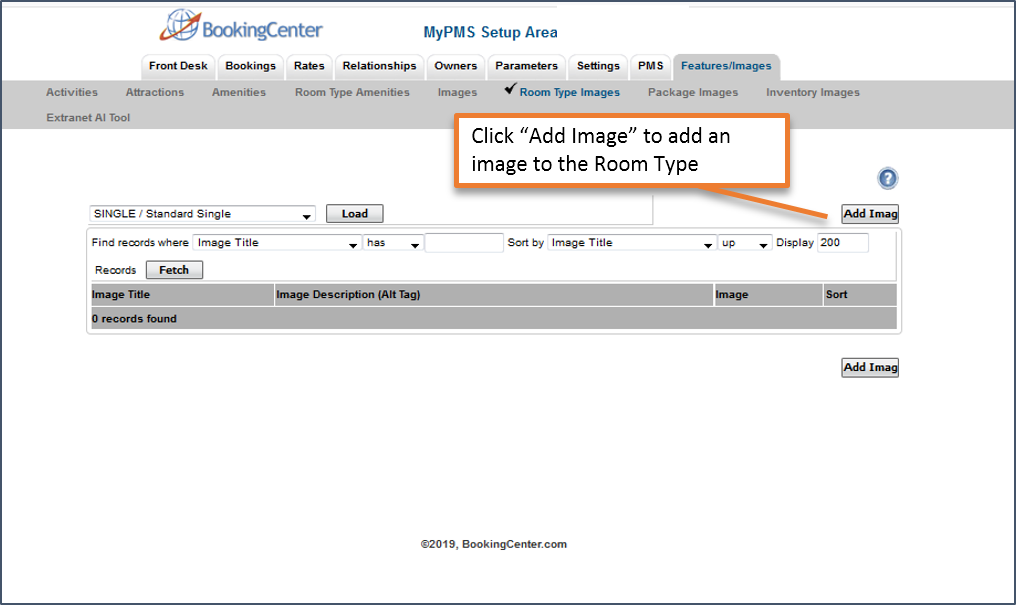
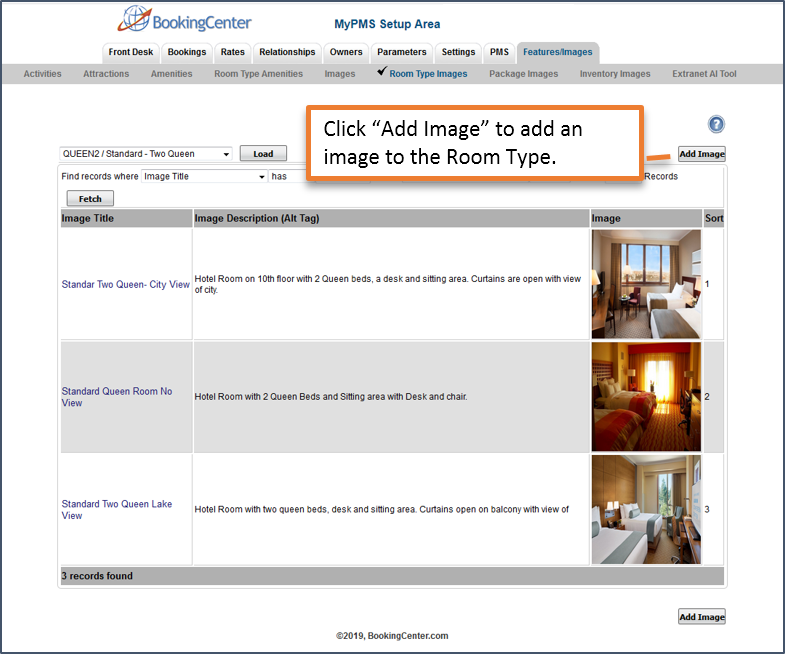
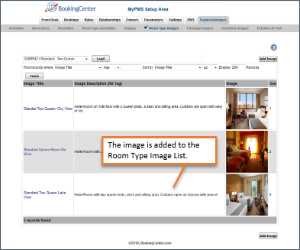
Once you have selected and loaded a Room Type, the Room Type Image List will display. Click on the Image Title to open the edit screen. 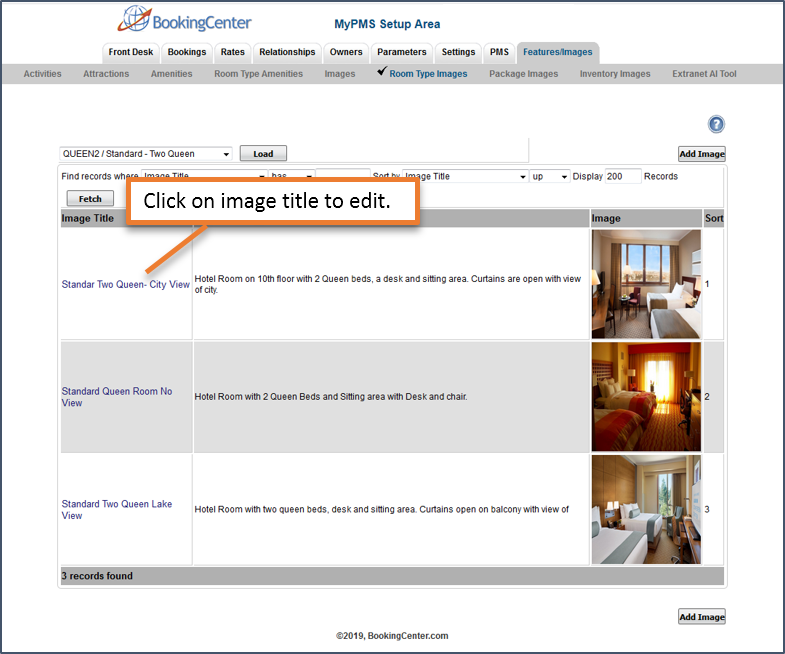 Image Added Image Added
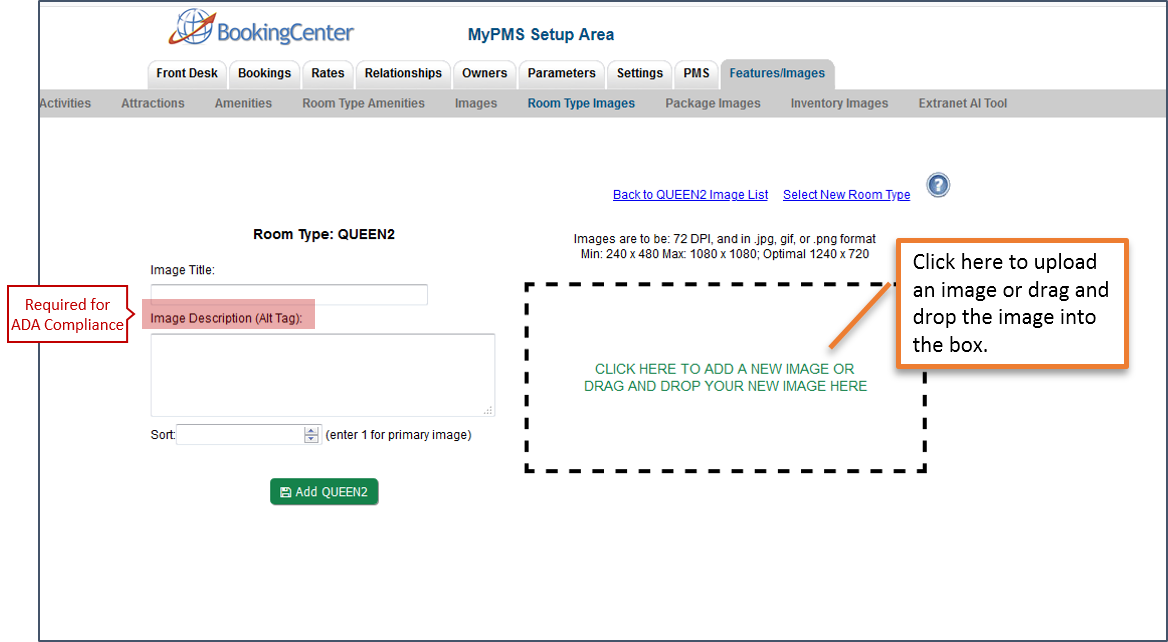
To Replace an image: Click on the box to open the upload folder and Click on Browse to select the image from your local folder . Select or, drag and drop the image from your local folder on the computer.Click Submit to upload the image.When the image has uploaded, you will see it display below the Room Type name. To replace an image: - Click on Delete to remove the image.
- Click on Browse to select the image from your local folder. Select the image from your local folder on the computer.
- Click Submit to upload the image.
When the image has uploaded, you will see it display below the Room Type nameinto the box. The uploaded image will display in the Image Box.  Image Added Image Added Image Added Image Added
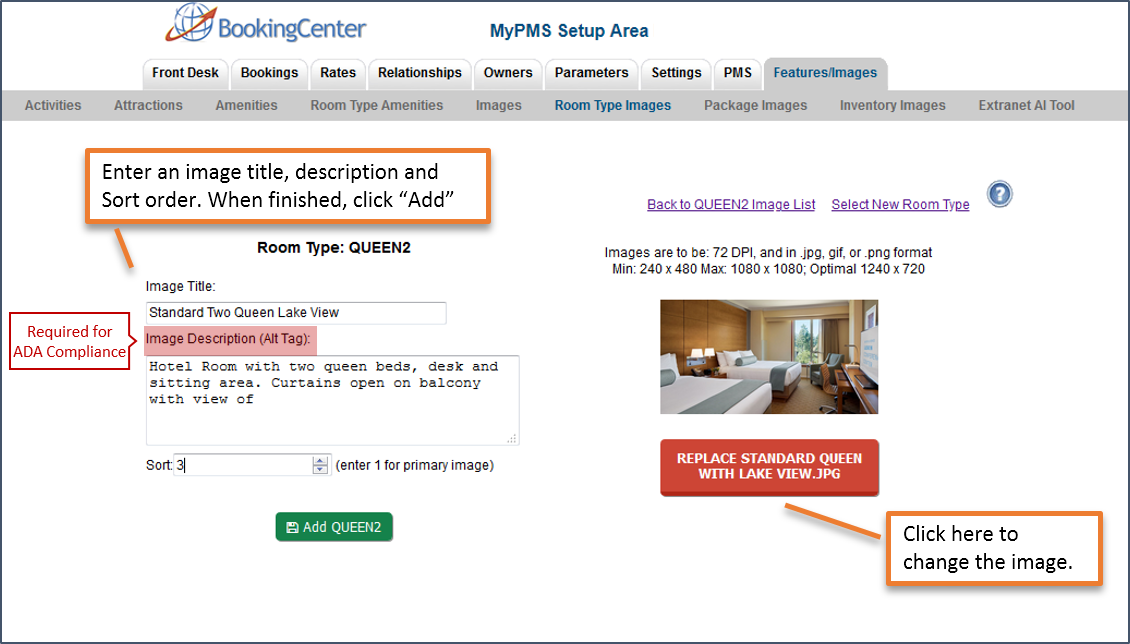
- Image Title. Enter a clear title. Ex: Standard King with View. Remember, search engines to display images based on written descriptions and will display search results more accurately with clean, descriptive text.
- Image Description (ALT Tag) : Enter a description of the image. For example: Hotel Room with one King Bed and a sitting area with desk and chair. Sliding glass door opens to balcony with view of city. *
- Sort Order: The sort order determines the order in which the Slideshow displays the images. The Room Type Thumbnail that displays on the "Select Room" page on the Booking Engine must be set at "Sort Order=1"
- Click Update to add the image.
*IMPORTANT ADA Compliance: We have provided an "ALT Text "field for each Room Type Image in MyPMS, but the descriptive text must be entered by you in the "Image Description ALT Tag" Field.
|