Page History
| Section | ||||||||||||||||||||||||
|---|---|---|---|---|---|---|---|---|---|---|---|---|---|---|---|---|---|---|---|---|---|---|---|---|
|
...
- "Arrivals" effectively closes the Rate Plan and makes any Room Type it is assigned to unavailable to arrival on your website, GDS and Front desk.
- "Closed" makes any Room Type it is assigned to unavailable for bookings on your website, GDS and Front desk.
| Section |
|---|
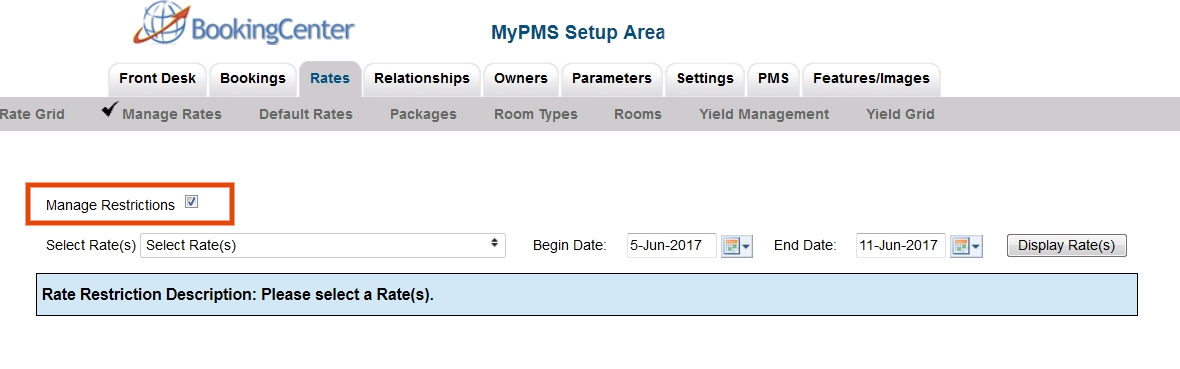
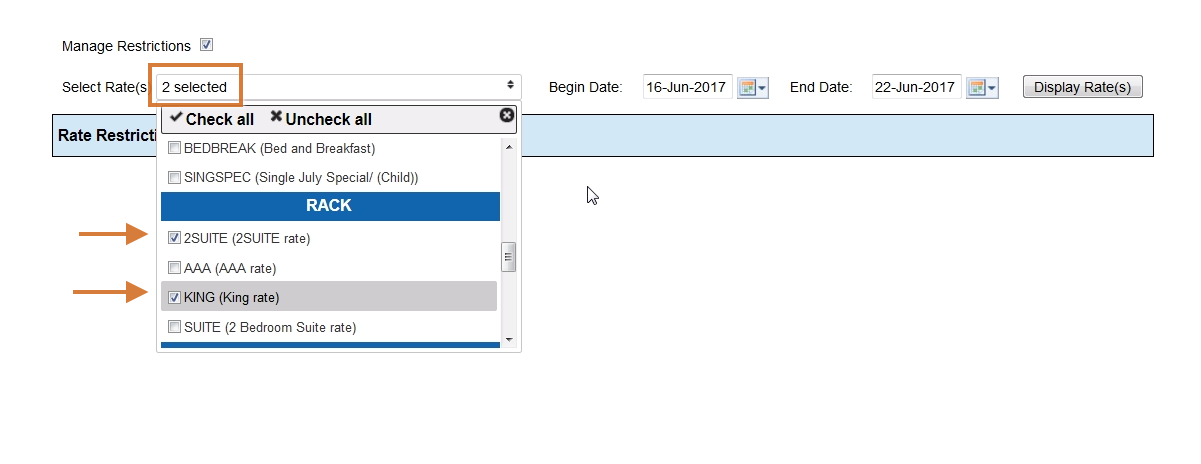
To change the Restrictions for aSingle Rate PlanMultiple Plans:
3. Select the Rate PlanPlans: In the drop down menu, select the Rate Plan Plans by putting a check mark in the box next to iteach Rate Plan. 4. Select the date range: Select the beginning end date that you want to change. Choosing the correct date range is a very important part of managing rates.You can select any date range from one day, weekend, week or month to several years in the future.
5. Click Display Rates: The Restrictions for the Rate Plan will display for the Date Range chosen, starting with the day of the week that the "Begins on" date falls on. 6. Enter Restrictions: Enter any changes to your Restrictions. See above for details on restrictions. Put a check mark in the "Save" box next to the line items you are changing and uncheck (leave blank) the line items you are not changing. Make your changes and click Save in the bottom right. I.e. If you are only changing the MINLOS, then click "Save" for that restriction only and uncheck the others. "Fill" is a useful feature to make changes across the week. Clicking the 'Fill' box will automatically fill the entire row with the amount entered in the first entry. This can be a real time saver! 7. Click Save NOTE: if you want to change the Restrictions for another Rate Plan during the same date range selected, then just go to the "Select Rate" drop-down menu and click "Display Rates". The screen will change to display the selected Rate Plan which is shown in the blue box at the bottom of the grid. |
...
Overview
Content Tools